
The Lightboard
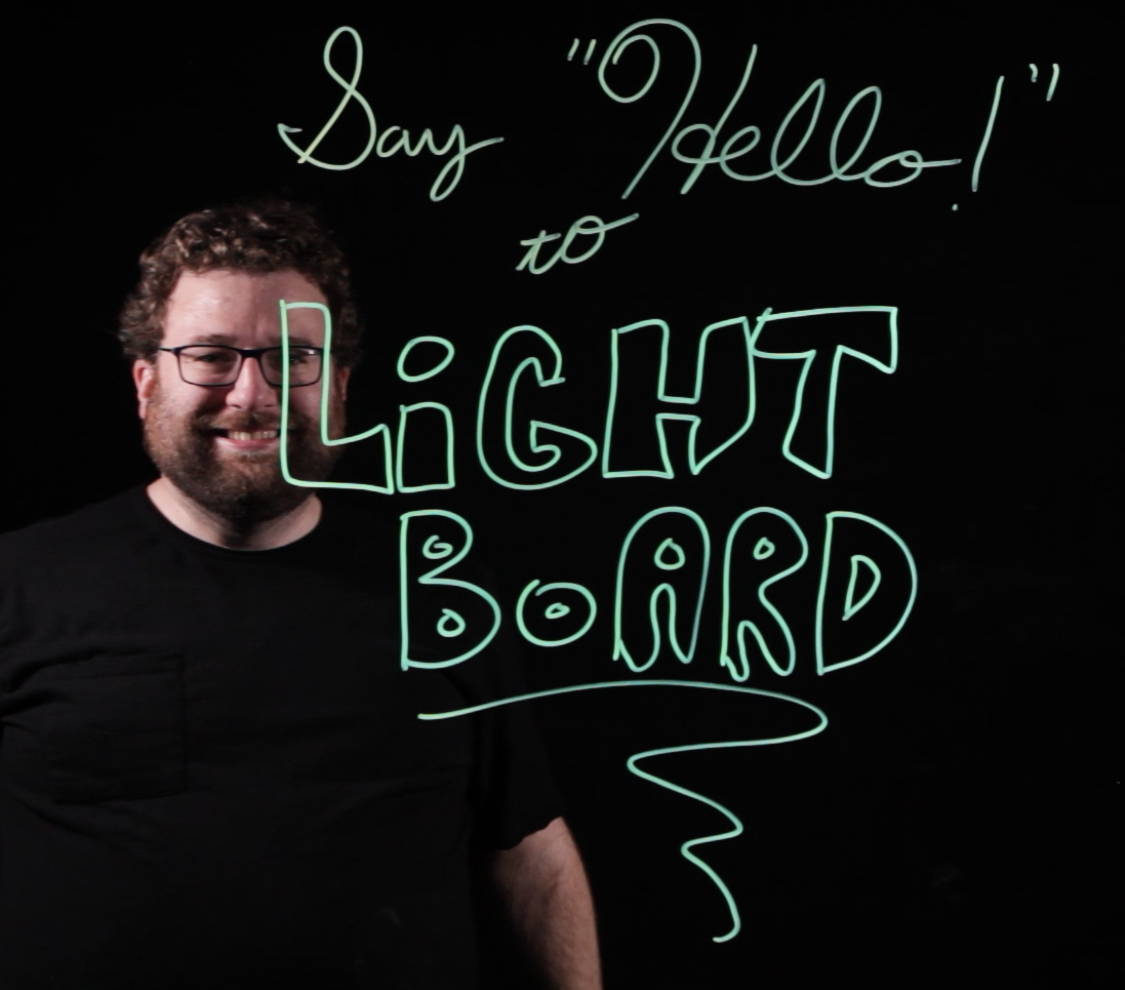 The Lightboard from Instructional Technologies is a tool that can be used to create written or visual demonstrations for instructional videos. It functions like a see-through whiteboard; you write on one side of it, and a camera records you from the other side. The Lightboard is a large piece of glass enclosed in a frame that has LEDs embedded into it. The LEDs illuminate the writing which makes it stand out and look like it’s floating.
One of the main uses of the Lightboard is to demonstrate complicated material, such as a mathematical formula or diagram. The presenter can write or draw as they explain the content, providing helpful visuals that can improve understanding.
Advantages of Video
Viewers can pause, fast-forward, and rewind videos, which gives them the control to learn at their own pace. These unique functionalities are an advantage that video has over live in-class instruction. Instructor-created videos are also personal; the presenter speaks and looks directly into the camera, simulating a one-on-one conversation. This presence increases engagement as the viewer can connect with the material and instructor more deeply.
Flipped Learning
Recorded lectures with the Lightboard can be helpful in Flipped Learning. In Flipped Learning, students receive instruction outside of the classroom, such as through Sakai. Class time is then reserved for discussion or activities in which students apply concepts and engage with the subject matter. Students can watch Lightboard videos of instructional content outside of class, opening up class time.
Watch the video below for more details about the Lightboard and its capabilities, as well as iTech’s construction process.
Design
The Lightboard is designed with the following components:
- Glass: 72″x36”x0.25″ Tempered Starphire.
- Frame & LEDs: Grooves within the frame hold the glass and LED strips. Power for the LEDs exits the bottom of the frame.
- Legs: The design, called a “theater” or “scene” jack, prevents the Lightboard from tipping over.
- Locking casters: Installed on the bottom of the legs to add mobility.
- Support Beam: Connects the legs for stability.
- Sandbags: Placed on the feet to increase stability.


Recording Set-Up
Lightboard videos are created with the following equipment:
- Camera
- Lighting
- Microphone
- Black Background
- Neon window markers
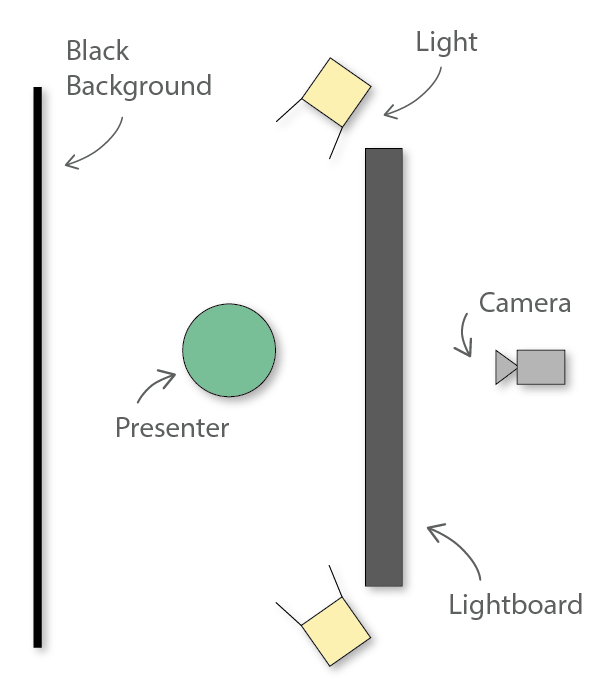

To set up, the presenter stands behind the Lightboard. The camera is placed in front and records them through the glass, as well as their writing. Lights are placed behind the Lightboard and pointed toward the presenter to illuminate them. We recommend placing a microphone behind the board to capture audio, as built-in camera mics are low quality and sound doesn’t travel through the glass well. The whole setup is a few feet in front of a black background, which helps the presenter and writing stand out.
Project Background
The iTech Lightboard project was inspired by Dr. Katrina Hay, the first person at PLU to produce a Lightboard video. Dr. Hay built her own homemade Lightboard to create videos for her physics classes, which were very helpful to her students. For more background on Dr. Hay’s Lightboard, visit her Faculty Spotlight page.
After learning about this tool, iTech applied for and received a grant from the Northwest Academic and Computing Consortium (NWACC) to create their own Lightboard. See the Lightboard Construction page for a blog of our process.


Cost & Materials
Our goal was to construct a low-cost (<$500) Lightboard that instructors can use as a model to create their own. The piece that put us over our goal was the see-through material for the writing. We tried to use an acrylic sheet (plexiglass), but the LEDs illuminated dust and inclusions within the material, which made it foggy and hard to see through. For clarity and quality, we went with Starphire glass. We hope that our design can be used an economical option for other institutions, as pre-built Lightboards are thousands of dollars.
| Tempered Starphire Glass: 72x36x0.25" | $541.50 |
| Frame Lumber: (2x) Prime Kiln-Dried Hem Fir, 2x4"x16' | $19.02 |
| Leg/Body Lumber: (5x) Poplar Board, 1x3"x7' | $43.75 |
| LED Strips: (2x) Natural White, 16.4' & 3.28' | $57.90 |
| LED Power Supply & Cord | $21.90 |
| LED Dimmer & Remote | $9.95 |
| Marker Tray | $34.95 |
| Sandbags (2x) | $43.90 |
| Locking Casters (4x) (free) | $0 |
| Frame Corner Brackets: (2x) 4", 2pk | $12.94 |
| 5" Mending Plate (4x) | $7.12 |
| Wood Stain: Waterbased, Ebony | $21.95 |
| Wood Stain, Top Coat: Waterbased, Satin | $29.87 |
| Neon Window Markers | $14.42 |
| Misc. staining supplies (sanding pads, gloves, tack cloth, shop towels, plastic sheeting) | $35.71 |
| Misc. hardware (screws, washers, LED supplies) | $31.82 |
| Total | $934.70 |
Create Your Own Lightboard Video!
Faculty, staff, and students are all welcome to use the Lightboard. iTech offers a range of support services, from training to video production, depending on the scope of your project. Training is required for all users prior to use.
Lightboard videos must be recorded in our Studio that’s located in the basement of the library. If you’re interested in using the Lightboard, please submit a Studio Reservation Request form and follow the Lightboard options. Feel free to contact itech@plu.edu with any questions.