
Lightboard Project
This page chronicles the construction of PLU’s lightboard, which will be widely available for campus use. Photos, guidelines, failures and budget expenditures will be added as construction progresses.

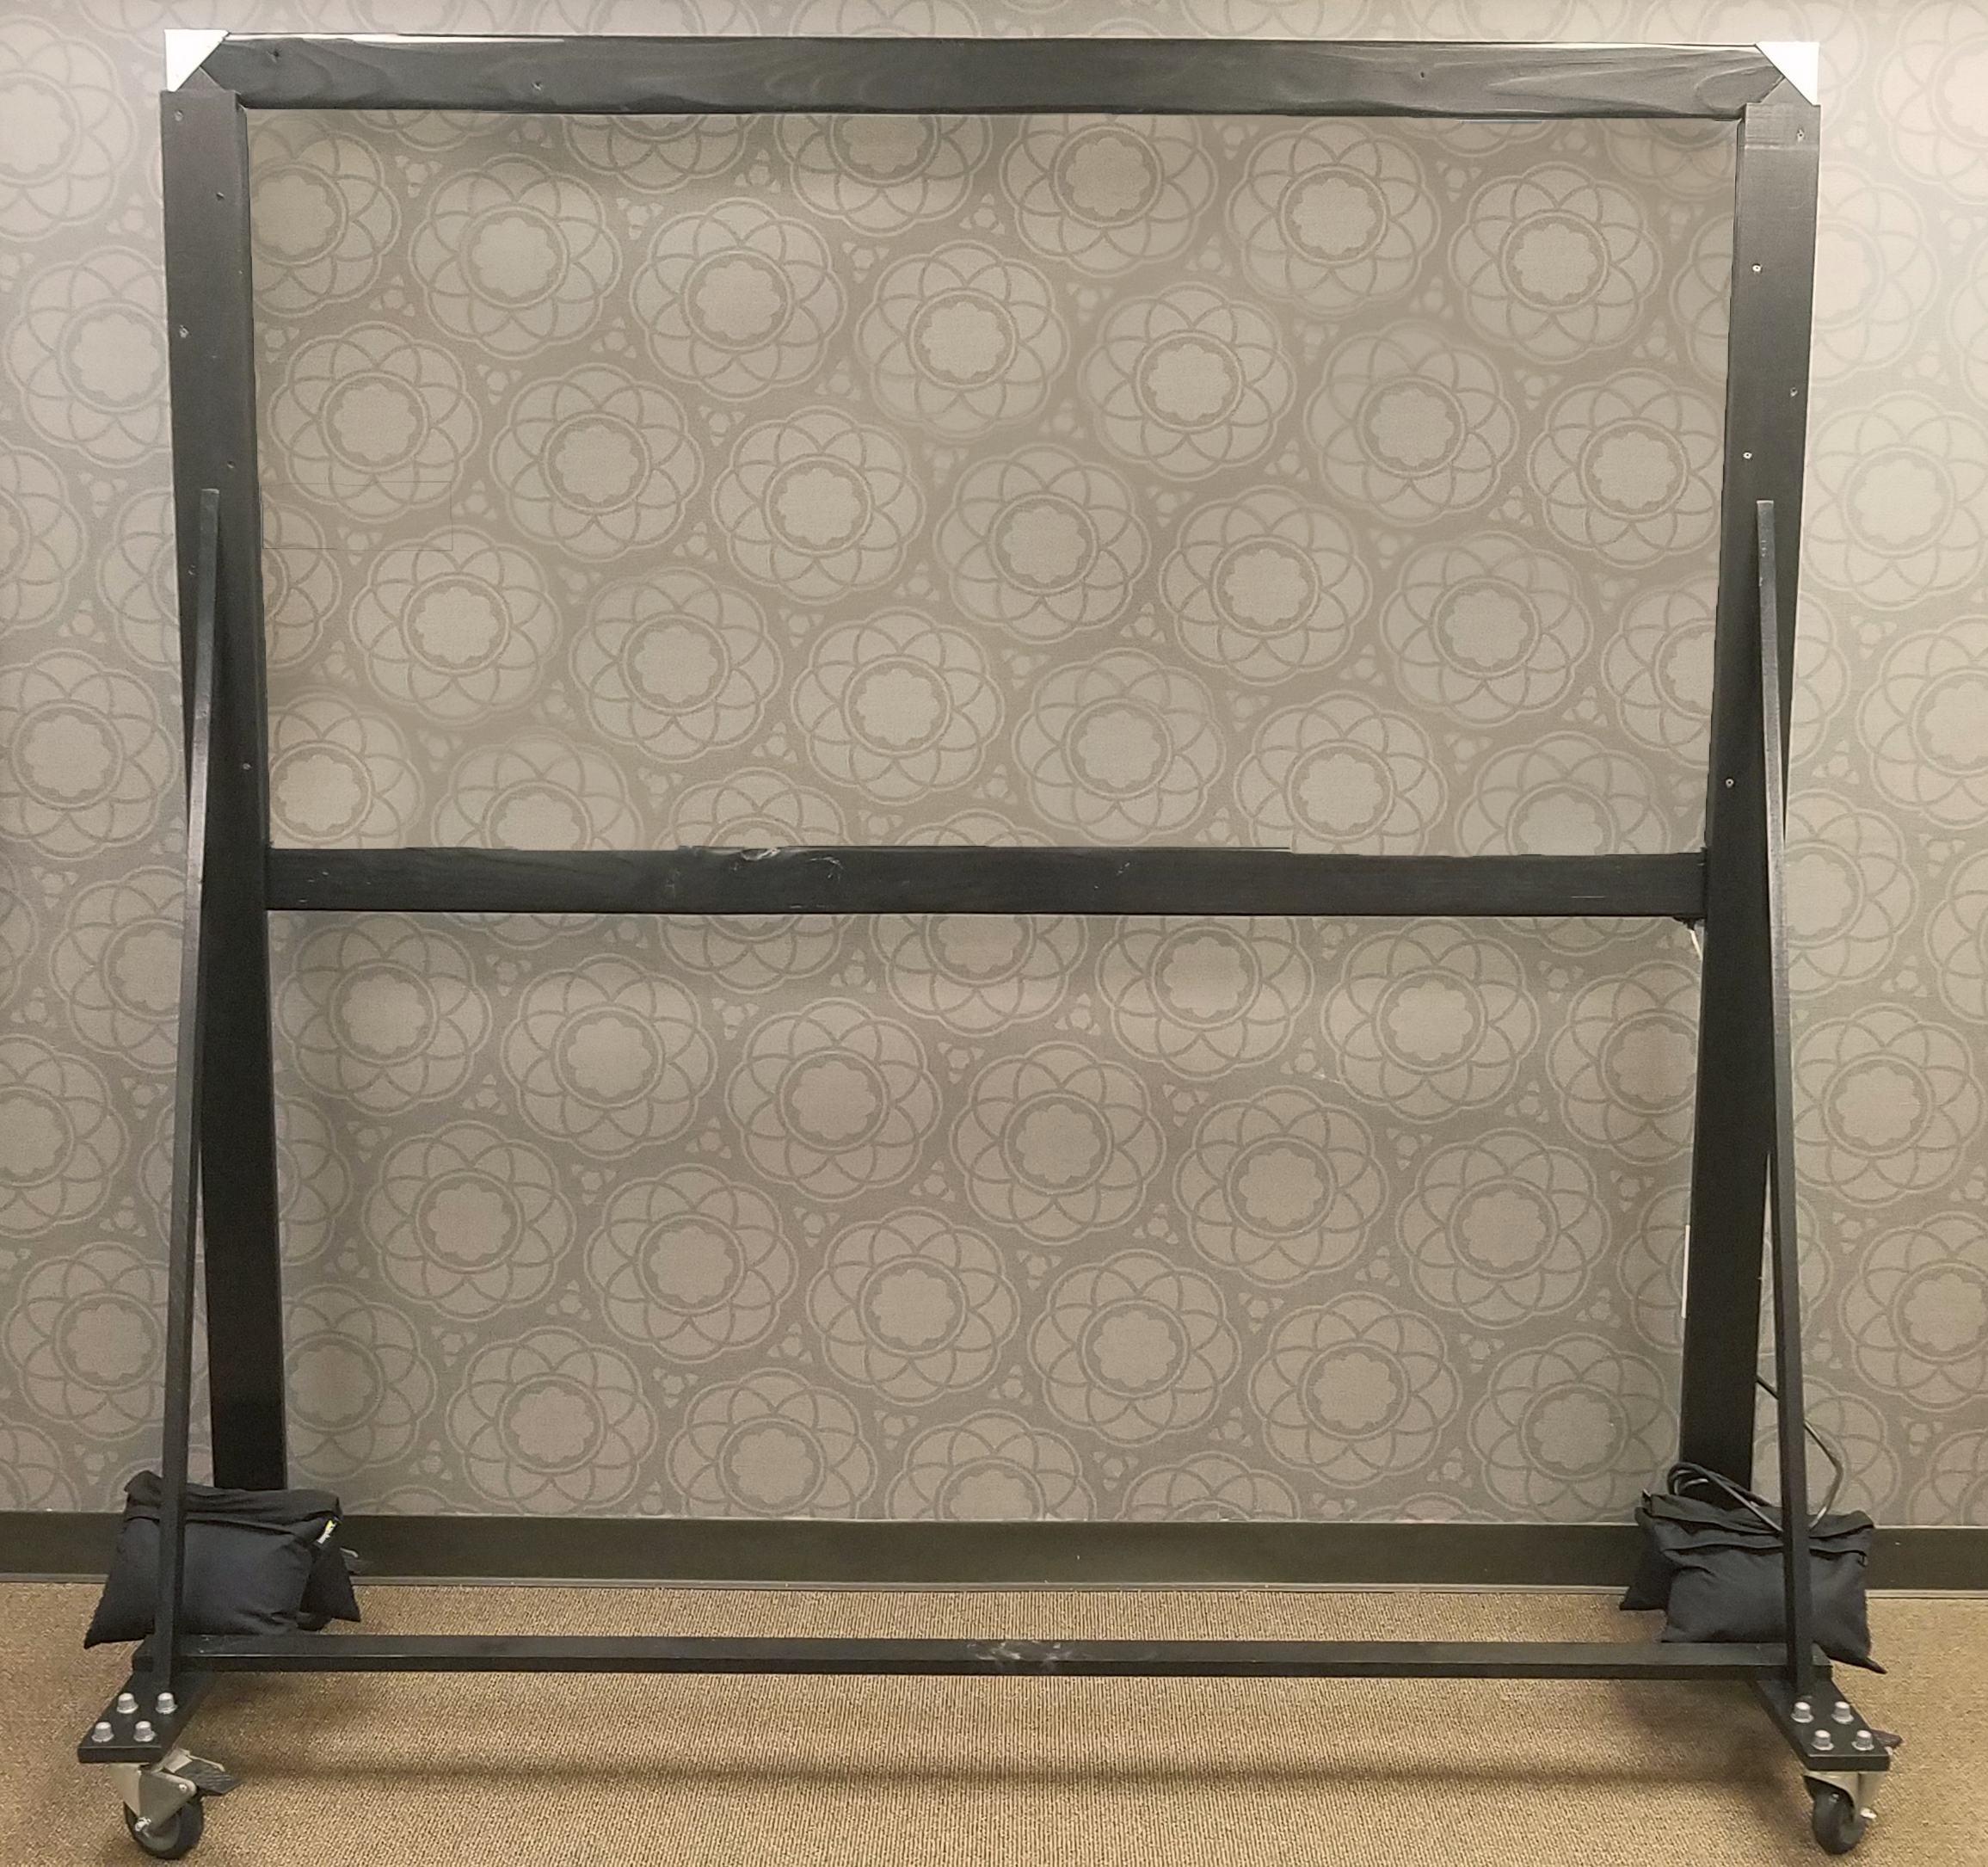
Front view
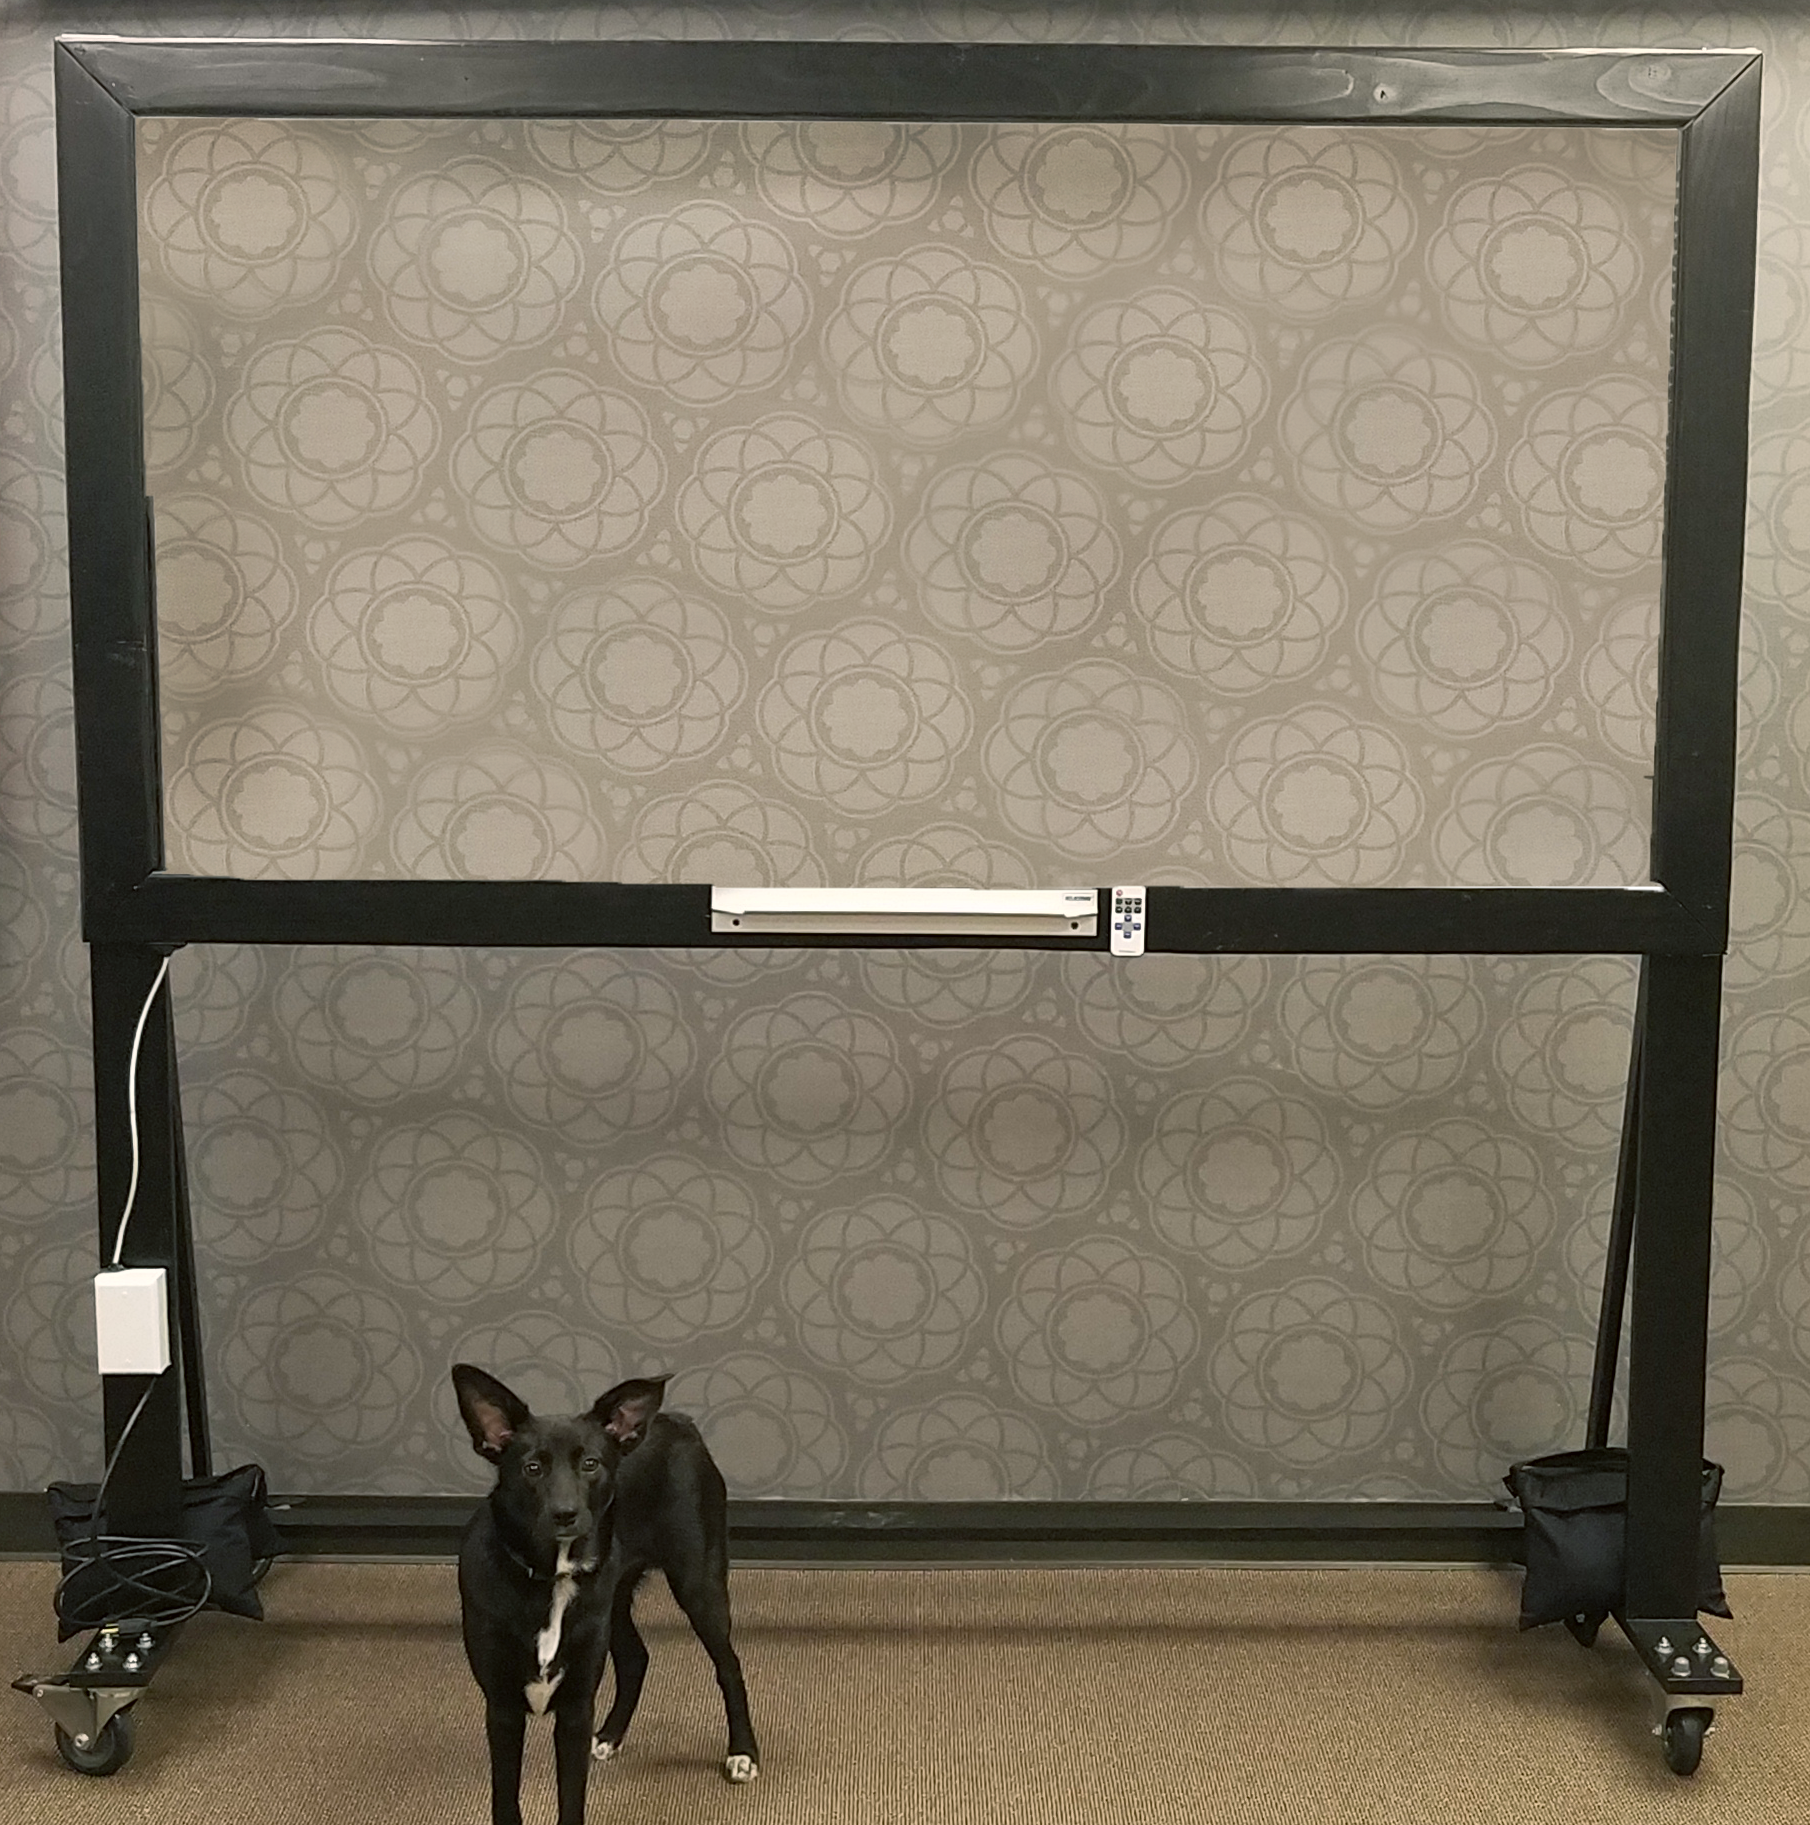
Back view
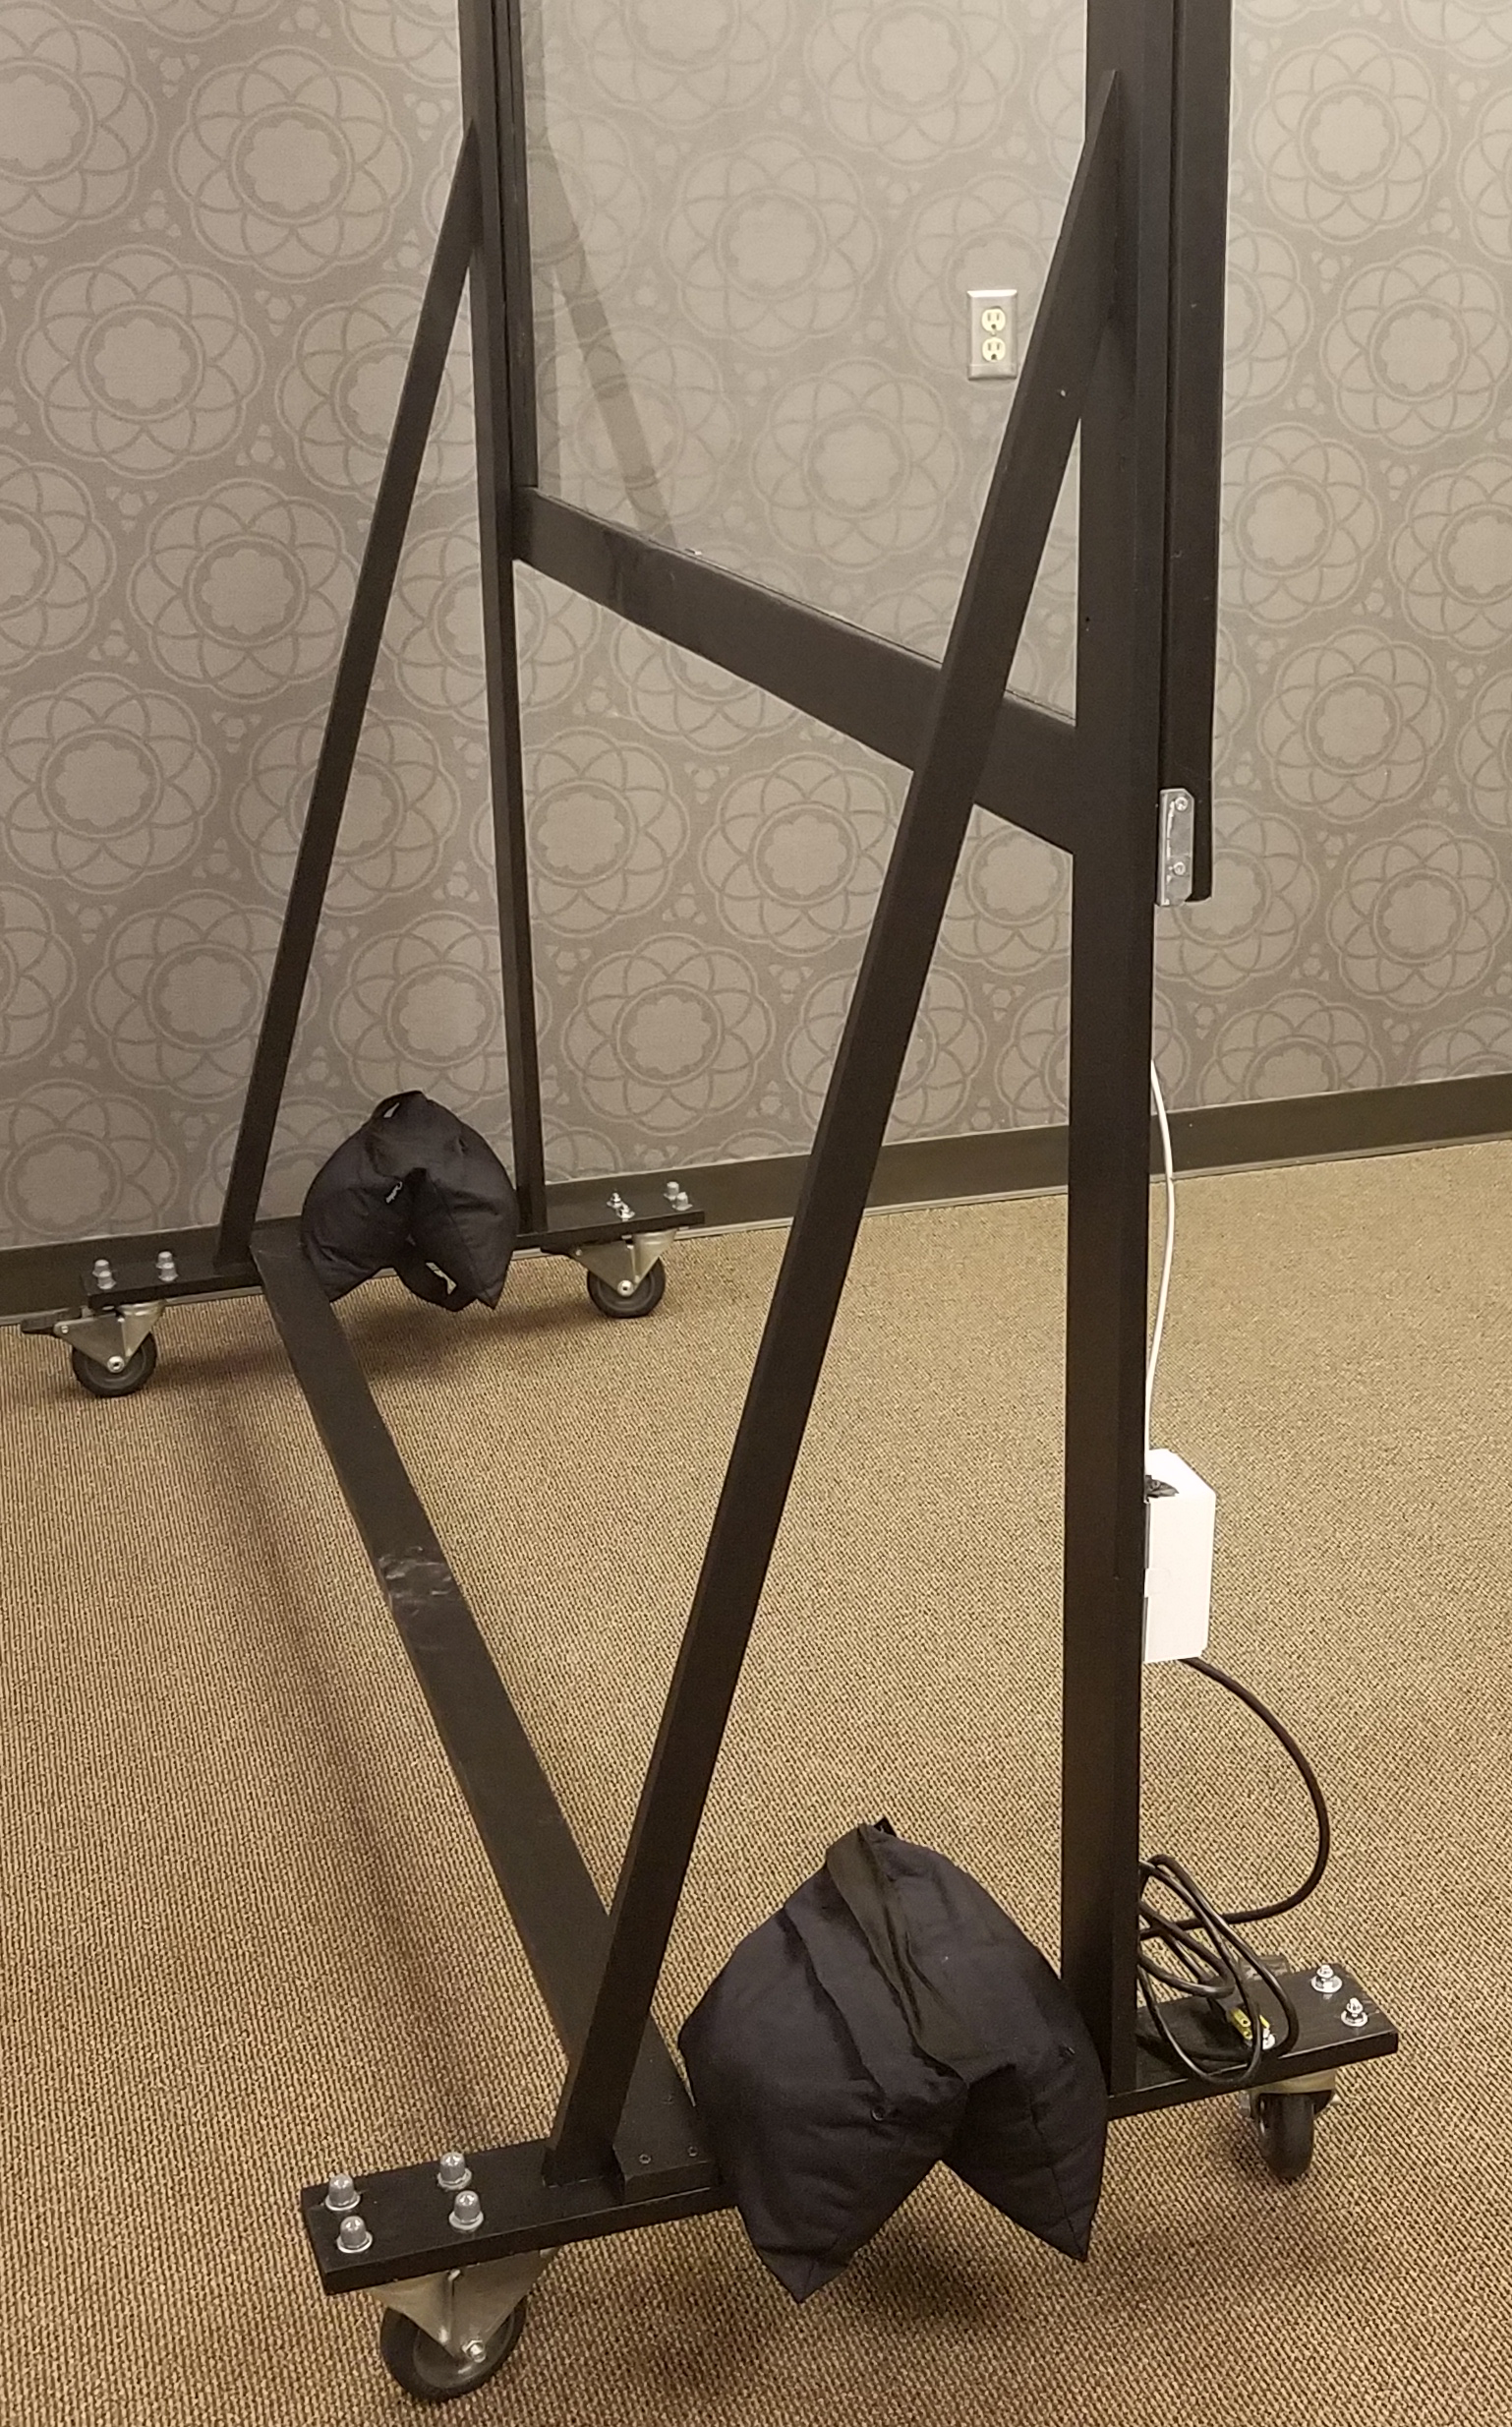
Side view
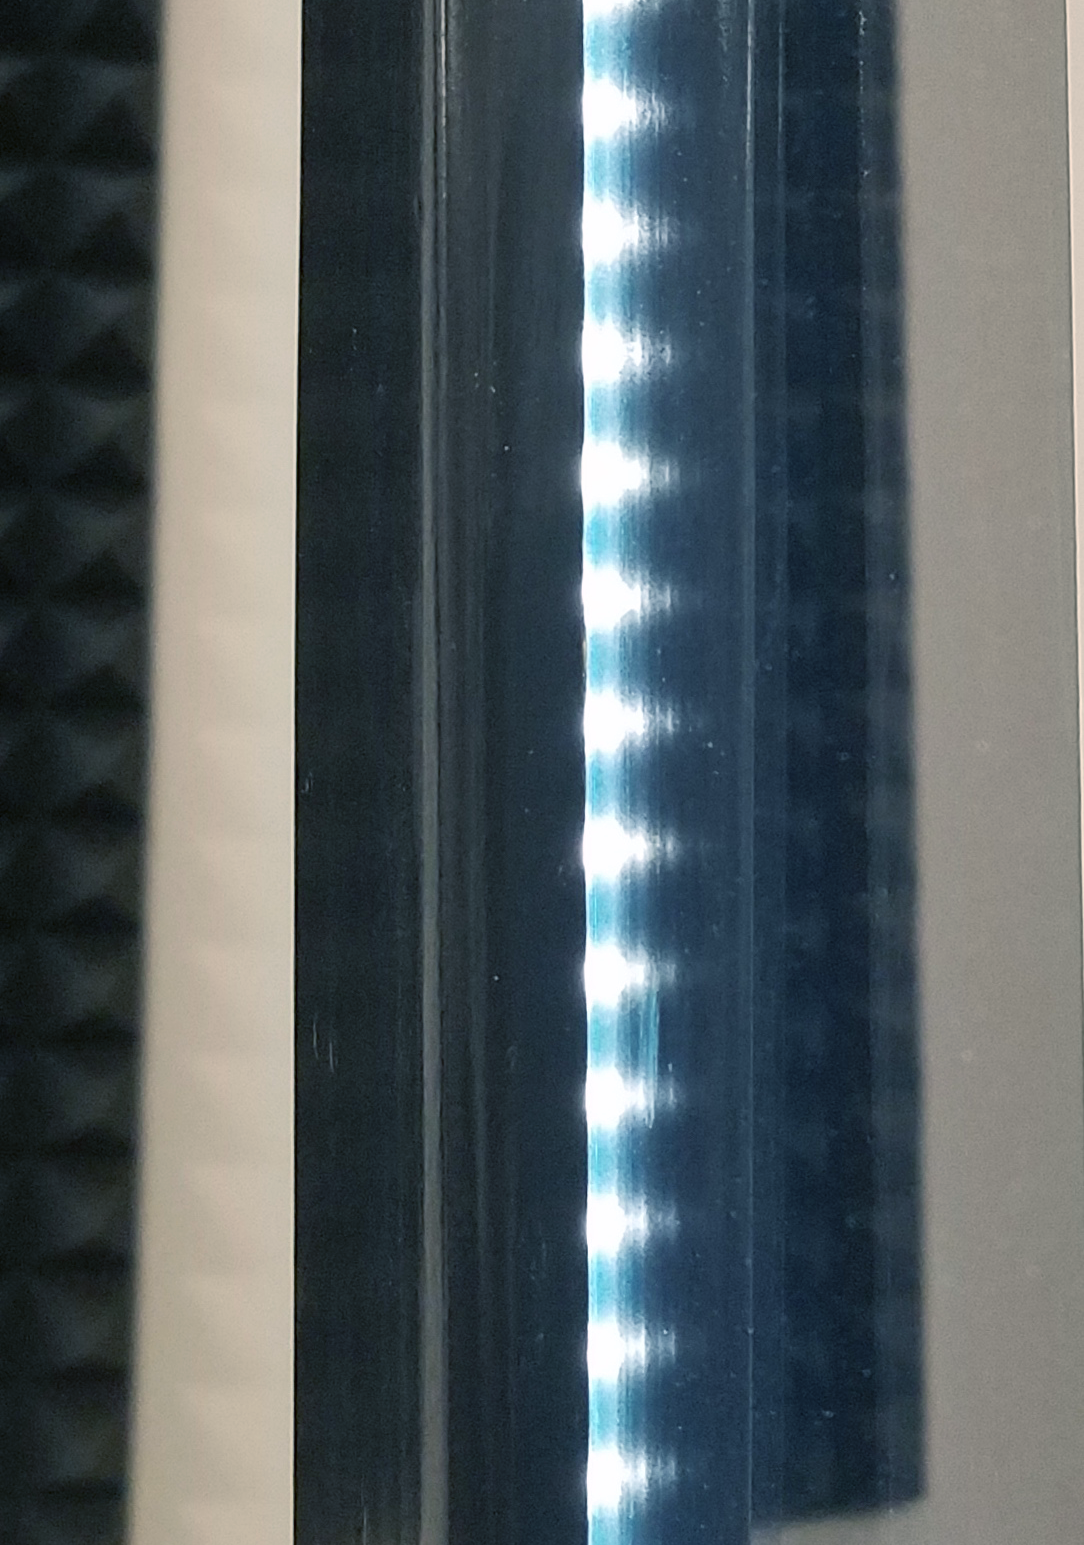
LEDs
Construction Process
1/8/19: WE DID IT!
After 2 years of hard work, we finished constructing the lightboard at the end of December!
Our third piece of material, the Starphire glass from the second glass vendor, works wonderfully. In combination with the newly installed dimmer the glass is completely see-through, and the lightboard is fully functional and usable. Now we’re in the testing phase, to nail down best practices for users. We’ll be releasing a video in a few weeks about how to use the lightboard, as well as our construction process behind it.
11/20/18: The Curse Continues
We ordered a new sheet of Starphire glass from a different local vendor, making sure to test a sample beforehand. In the meantime, we decided to re-string the frame with new LED’s, as the original strips had burned out a few lights already.
The new LED strip is thinner, fits better into the frame, was made by a more reputable manufacturer, and has more durability. The setup process was more complicated than the original strip, which was almost plug-and-go. The power cord, dimmer, and second string all needed to be soldered together manually. After assembling the new LED strip, we bundled the power and dimmer into a case, and strung the lights into the frame.
It took us a few weeks to get the lights and frame ready for a new sheet of glass. After it was ready, we scheduled a time to go to the glass shop and test the new glass sheet in our frame. That’s when the seller noticed a very visible imperfection in the glass and requested the sheet be re-made by the manufacturer.
When the new-new sheet of glass is ready, we will be able to test it right away now that our frame is complete. Altogether, this is the fourth sheet of glass/material that we’ve gone through for this project.


10/11/18: The Lightboard Curse
We went to a local glass supplier and tested some samples of Starphire glass with a strip of LED lights, and the glass looked crystal clear when lit up. After purchasing a sheet of tempered Starphire glass, we excitedly installed it into our frame and turned on the LEDs. Our excitement turned to dismay immediately. The (very expensive) glass had similar issues to the acrylic sheet; there were specks all over it, as well as vertical streaks. No amount of cleaning could make any of it go away. Through research, I discovered that other colleges with lightboard experienced these defects as well. In their cases, they asked for replacements from their suppliers until they got a clean piece. The specks on the glass were particles of glass dust that fused to the surface, and the streaks were roller marks; both of which were most likely caused during the tempering process. Tempered glass is required for safety reasons, however, so going the untempered route for a replacement is not an option.
Next week we’re testing a sample of tempered Starphire glass with our LEDs from a different local glass supplier. We’ve also ordered an LED dimmer that attaches to the power cord, with the hope that lowering the light output will decrease the visibility of any defects. A brace to go between the legs, which will help stabilize the entire board, has been purchased, sanded, and stained. Locking casters are also ready to be installed.
9/10/18
We spent a day putting the lightboard together, only to find out that the acrylic sheet is full of particles/inclusions. When the LEDs aren’t lit, the sheet looks clear. When they’re turned on, however, all of the particles light up and make the sheet look foggy. It is completely unusable. Unfortunately, we weren’t able to anticipate this effect with the sheet purchased, as we couldn’t remove the protective coating until after the board was constructed. In constructing their lightboard, Kent State discovered this issue as well.
We will visit a local plastics manufacturer, KelTech, to investigate high-grade acrylic sheets. However, through additional research, we’ve learned that acrylic – no matter the grade – will scratch easily. While cleaning our original acrylic sheet we noticed almost immediate scratching with very soft cloths. So, we’re also looking into Starphire glass, which would be the preferred (but very expensive) choice.
We’ve also discovered that support beams between the legs are necessary for proper stabilization, and have decided to install lockable casters on the bottom of the legs for movability.


9/4/18
Over the past year, the lightboard project has been delayed multiple times, and there have been some changes to the construction plans. Fortunately, we’ve been able to make the following progress:
- October ‘17: Construction of the leg jacks.
- December ‘17: All wood pieces fully sanded.
- January/February ‘18: All wood stained black, with a topcoat finish.
- August ‘18: Final construction consultation. Acrylic sheet trimmed.
The first change of plans was the wood stain. Instead of an oil-based stain, we decided to go with a water-based option. Water-based stains are better for the environment, don’t produce toxic fumes, and dry faster than oil-based stains. Three coats of stain were done, as well as three coats of topcoat, leaving a polished finish to the wood.
In August we had a final construction consultation. This project switched hands and some details were lost in the process. During the consultation, we discovered that the frame for the acrylic sheet was cut slightly too small, and the sheet had to be trimmed down to fit.
We have decided to revert the plans for the LED strings back to the original, embedding into the groove of the frame. After some light testing, we discovered that this LED placement will produce more ideal lighting. Also, wrapping the LED strings around the inside of the frame would require that we re-miter the groove in the frame to widen it. Heat tests have been done to confirm that overheating won’t be an issue.
Installation of a marker tray has also been added to the plans. A hole for the power cord for the LED’s will also need to be cut in the frame. All materials and parts are officially purchased and ready for construction, which we hope to complete this month. Other details we’re considering are attachable LED lights, to illuminate the presenter.
9/15/17
All the hardware has been purchased, and the frame has been cut to size. Now that the theater shop is re-opened for the school year, we look forward to cutting and constructing the scene jacks for the base and sanding the whole lot of wood down. The design for the legs has changed somewhat–we will post a new mock-up when we have committed to a specific shape so we can share all the exact measurements we use. Additionally, we have opted to string the lighting around the plexiglass on the inside of the frame, rather than embedded in the frame; this was due to concerns with overheating, as the heat would be trapped in the frame. Lining the frame with the LEDs should also give better light coverage to the writing on the board.
Original Plans
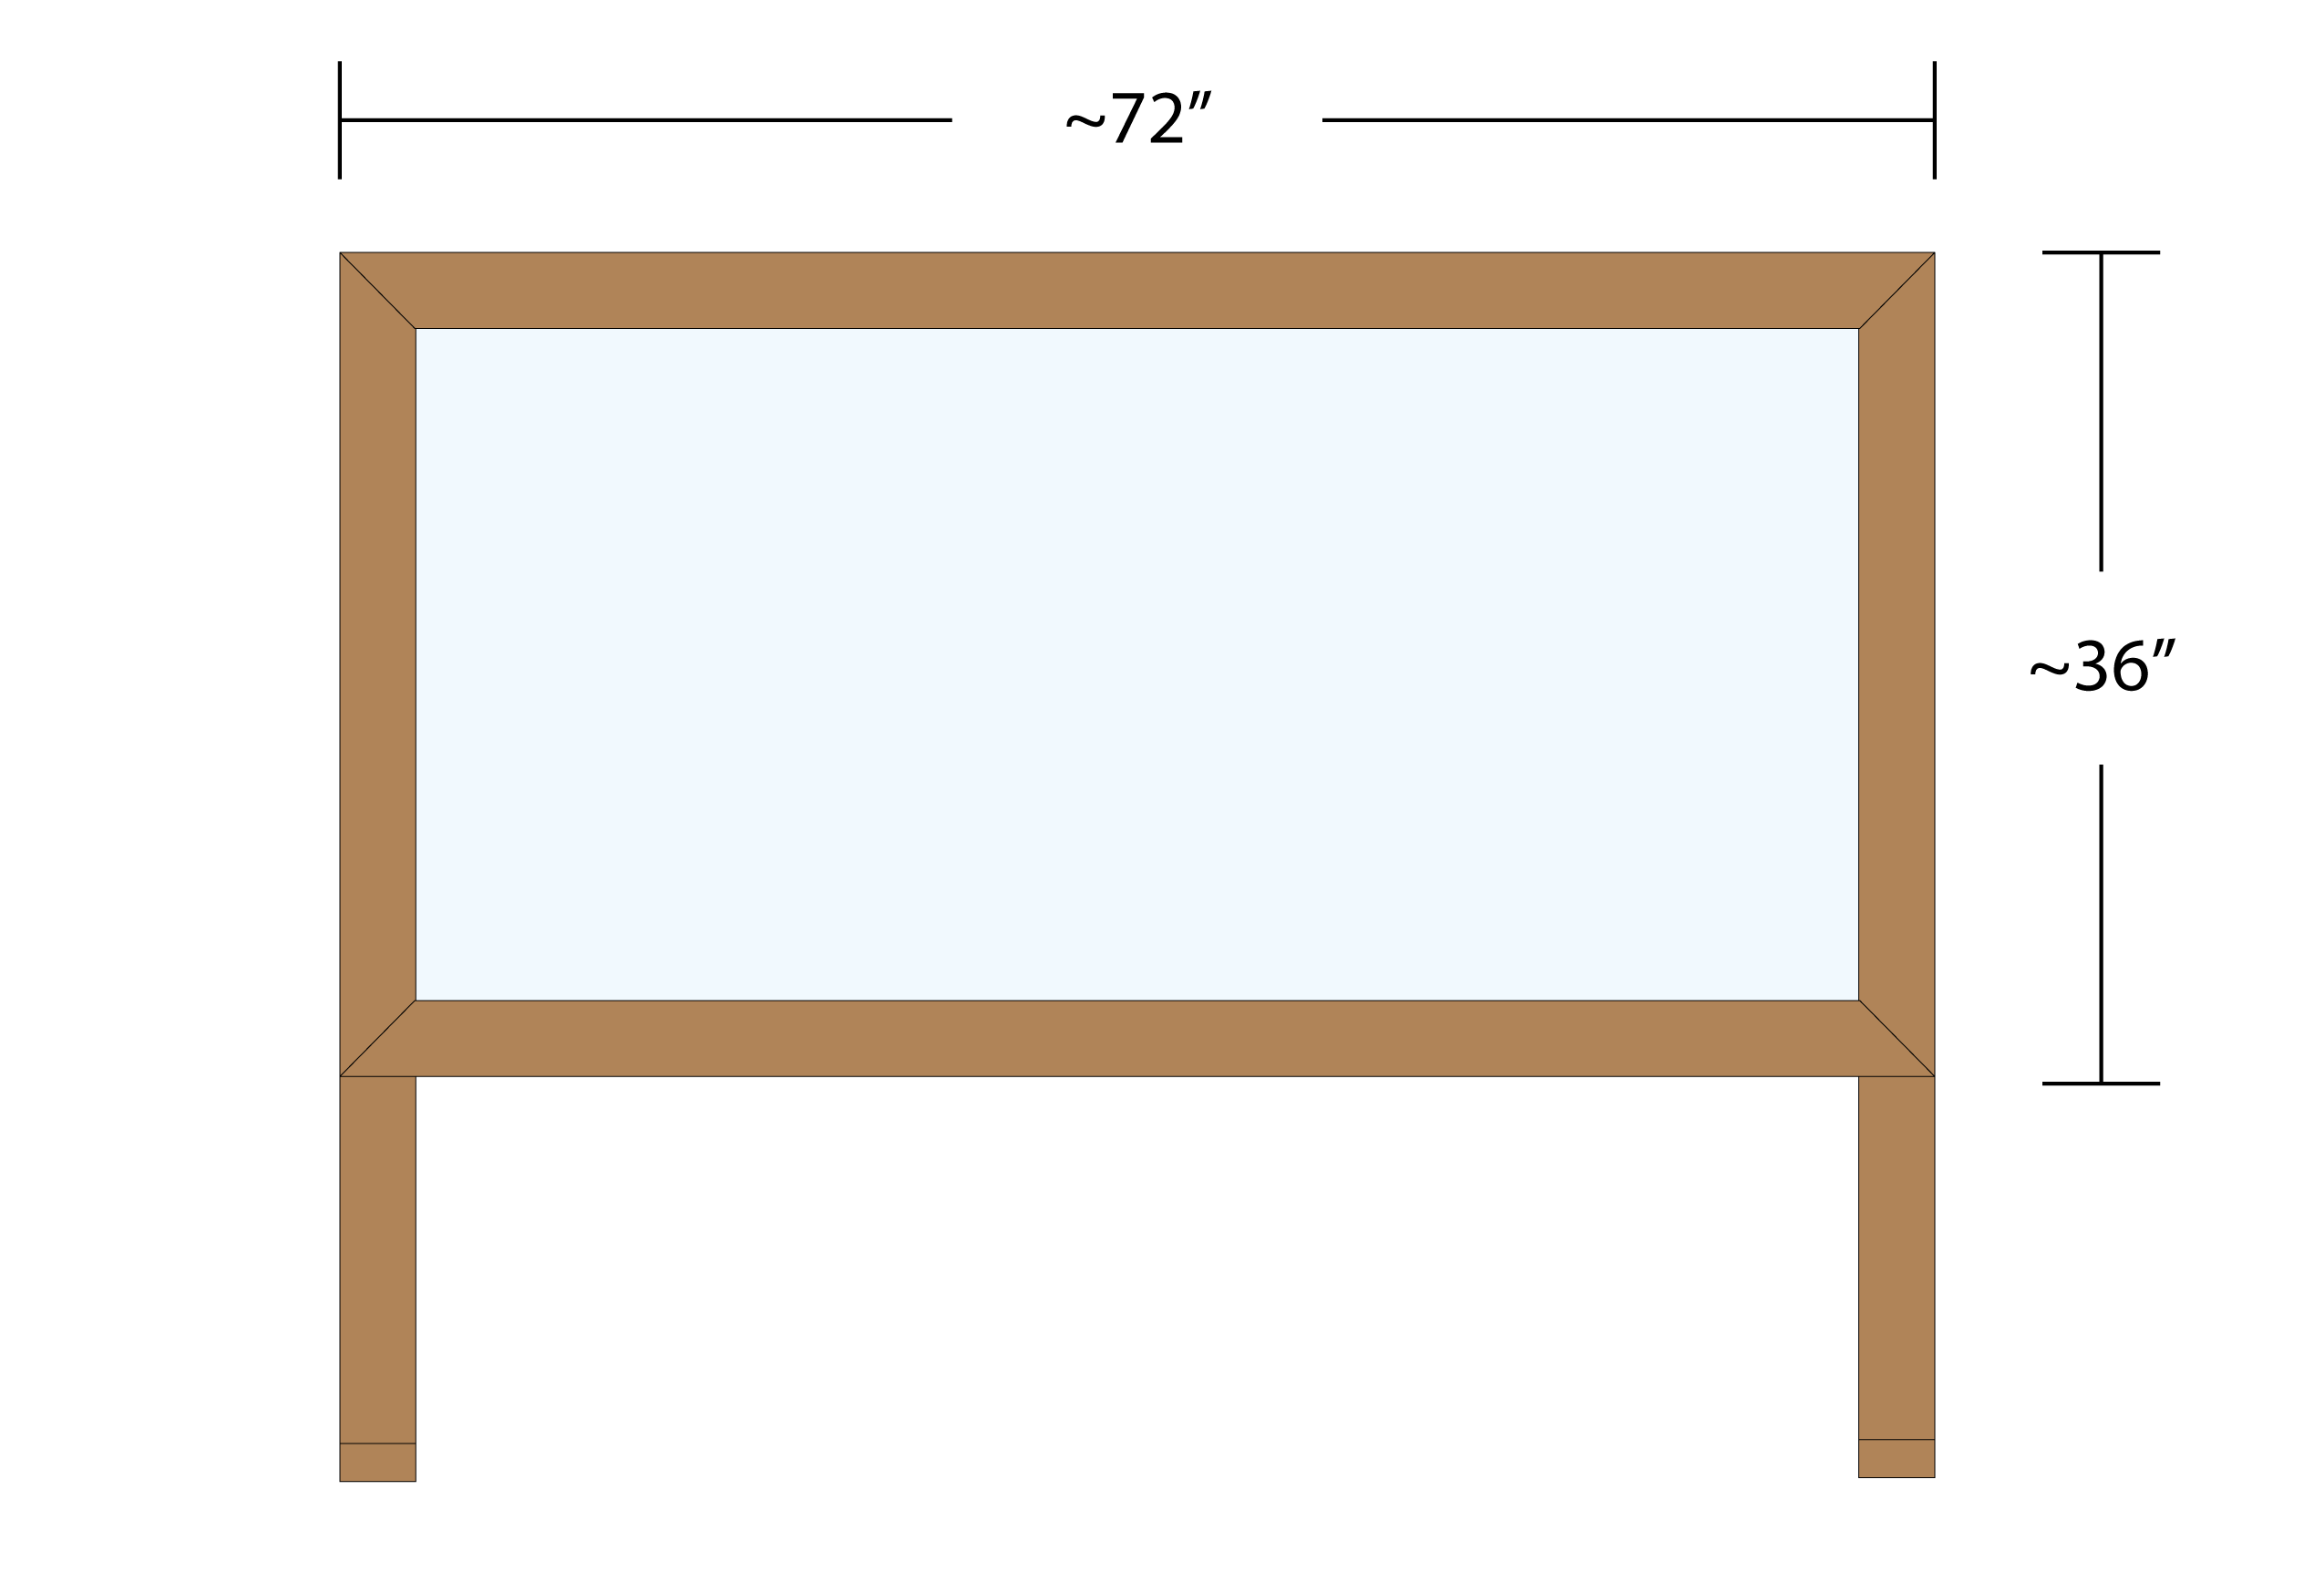
Front view of the lightboard.
The board is clear Plexiglass acrylic sheeting. The standard size is 36”x72”, but can be cut down, especially if there is a local plastic company you can purchase from. The glass should be at least .22 inches thick, to cut down on the amount of vibration that moves the glass when it’s written on.
The frame is regular 2”x4” lumber; kiln-dried is recommended as it is lighter (less water in the wood). The corners of the frame will be mitered at a 45° angle and held together with corner braces.
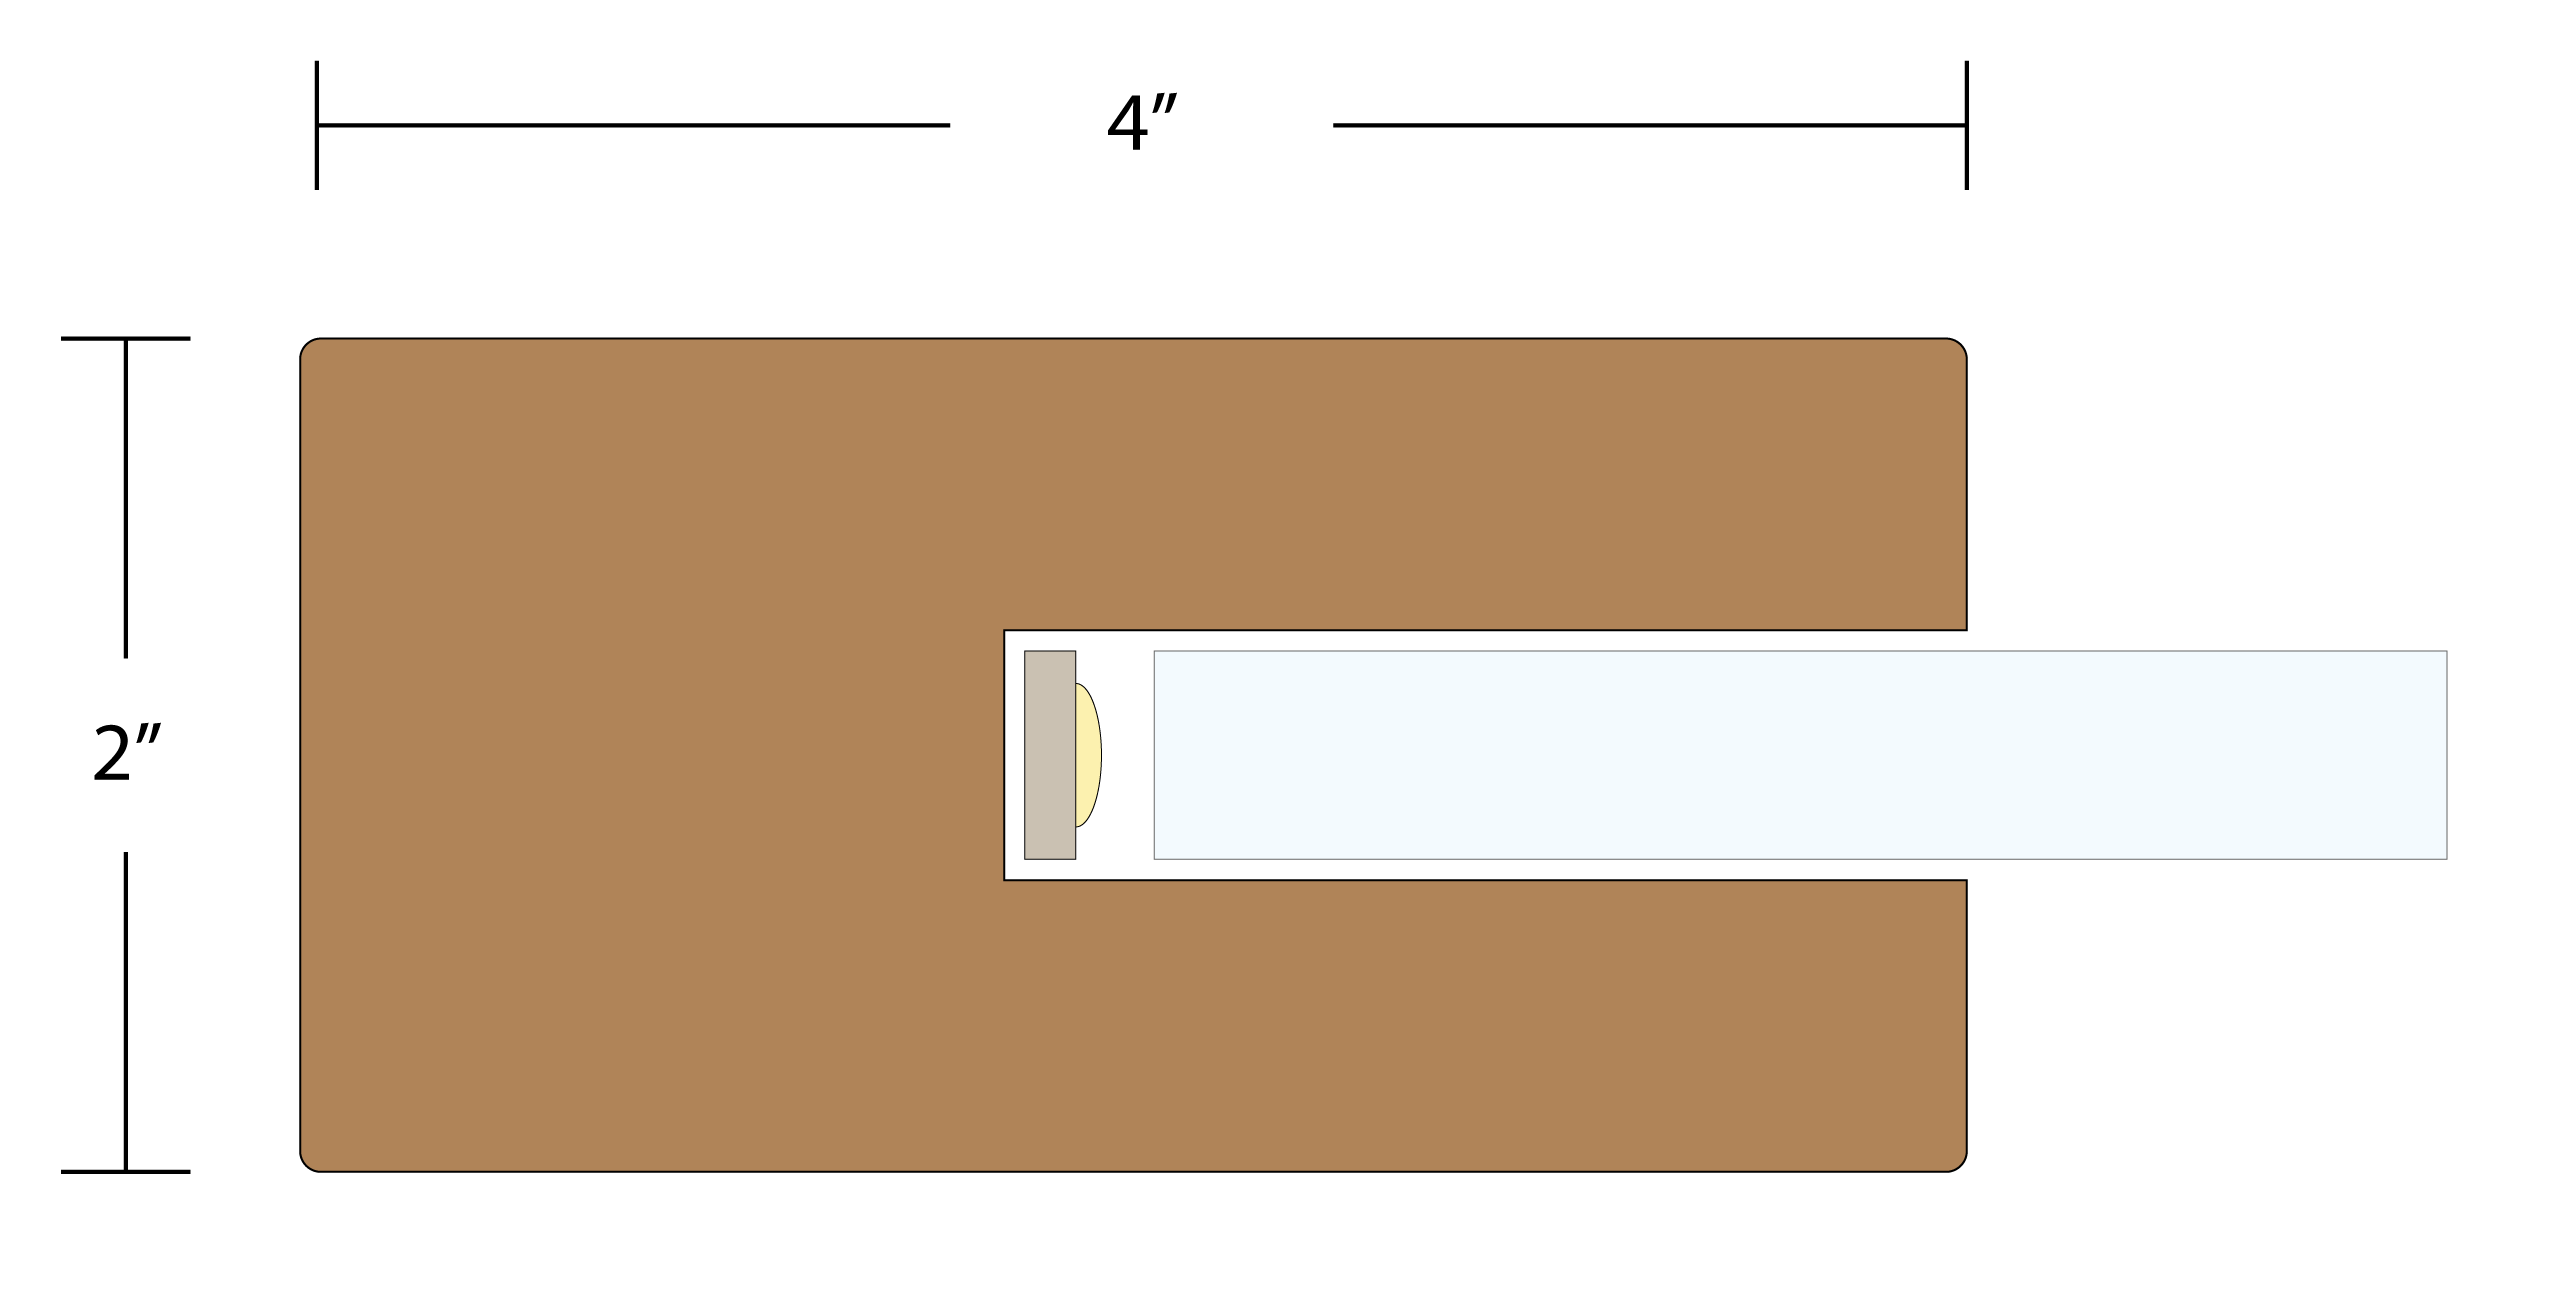
Cutaway view of the frame.
The 2”x4” frame will have a groove cut to insert the plexiglass and house the LED light strip. Because the LED light strip is wider than the plexiglass, the glass may need to be padded with adhesive foam.

Side view of the leg construction.
The legs are structured to brace the opposite side of the instructor, to counteract against the forward pressure of writing on the board. Sandbags help weight the legs down and stabilize the entire frame.
Expected Costs (approximated)
Note: this table does not include taxes and shipping costs, which will likely put the final cost of the project in the $300-350 range.
| Plexiglass - Optix Acrylic Plastic Sheet | 36” x 72” x .22”, 29 lbs | $130 |
| Kiln-dried Lumber x3 (the frame) | 2” x 4” x 16’ | $17 |
| Impact Saddle Sandbags x2 (to stabilize frame) | 15 lbs, black | $44 |
| LED tape light, cool white, high density x2 (to light up the plexiglass) | 16.4ft roll, adhesive backing | $46 |
| LED power supply, strip-to-strip connectors | 60 watt | $20 |
| Corner braces x2 (to hold together frame) | 4" | $13 |
| Mending plates x2 | 4" | $4 |
| misc screws, wood glue, ebony wood stain | $15 | |
| total: | $289 |
Pedagogical Sources
For more information on the pedagogical background on this project, check out these books and articles:
- Chih-Ming Chen, Chung-Hsin Wu – “Effects of different video lecture types on sustained attention, emotion, cognitive load, and learning performance.”
- Louis Deslauriers, Ellen Schelew, Carl Wieman – “Improved Learning in a Large-Enrollment Physics Class.”
- Timothy Slater – “First Steps Toward Increasing Student Engagement During Lecture.”
- H. Korving, M. Hernández, E. De Groot – “Look at me and pay attention! A study on the relation between visibility and attention in weblectures.”
- Ming-Zher Poh, Nicholas C. Swenson, Rosalind W. Picard – “A Wearable Sensor for Unobtrusive, Long-Term Assessment of Electrodermal Activity.”
- Jean Mandernach – “Effect of Instructor-Personalized Multimedia in the Online Classroom.”